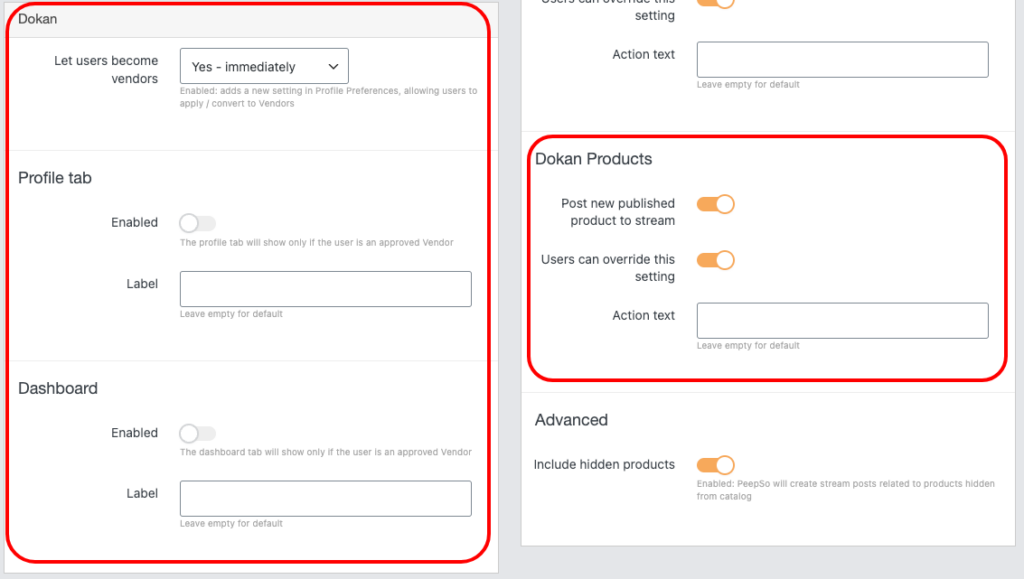
With the help of the PeepSo Monetization: WooCommerce, Dokan and Product Vendors integration plugin, you can enable your site users to become a Vendor. The settings that allow you to send a request to become a Vendor can be found in WP Admin -> PeepSo -> Configuration -> WooCommerce -> Dokan section.
![]()
Basic settings #
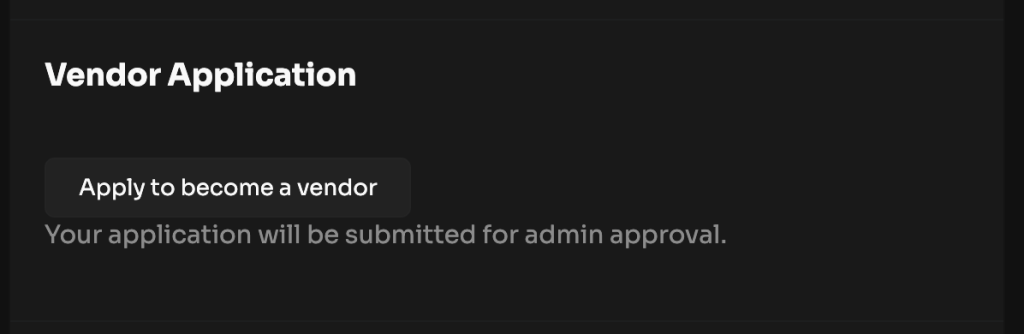
- Let users become vendors – select one of the available options to enable or disable the ability to send a request to become a Vendor. If you select one of the options to allow sending the request, an additional section will appear in the user’s profile preferences. To find it, go to Profile page -> Preferences -> Vendor Application section and use Apply to become a vendor button.
After sending the request, depending on whether we have chosen to accept it in the integration settings, we have to accept it or not in the third-party Dokan plugin settings. You can find them in WP Admin -> Dokan -> Vendors.
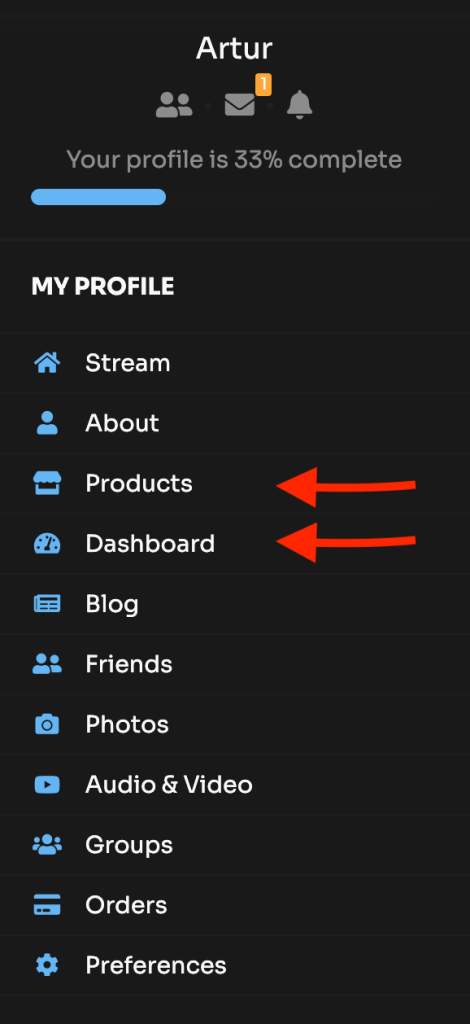
- Profile tab – use the Enabled switch to make an additional Products tab appear in the PeepSo profile navigation when you accept the request to become a Vendor. You can also change its name by entering it in the Label position.
- Dashboard – use the Enabled switch so that when you accept the request to become a Vendor, an additional Dashboard tab appears in the PeepSo profile navigation. You can also rename it by entering it in the Label position.
Publish new submitted products by vendors inside the activity stream #
It is possible to post new published products to the stream.
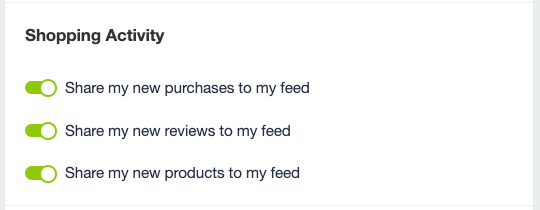
Users can override this setting in their Profile > About> Preferences: