WooCommerce Product Vendors turns your store into a multi-vendor marketplace. You can assign existing products to vendors, or they can add and edit their own.
Before you dive in
This post will only cover absolute basics in terms of configuring the WooComerce Product Vendors plugin. If you want to just play with the integration and keep it simple, this post should be enough. But I highly recommend the WooCommerce Product Vendors official documentation – you will need it in order to create proper flows like Vendor registration form, figuring out commissions, taxes, shipping an much more.
Admin: creating a Vendor
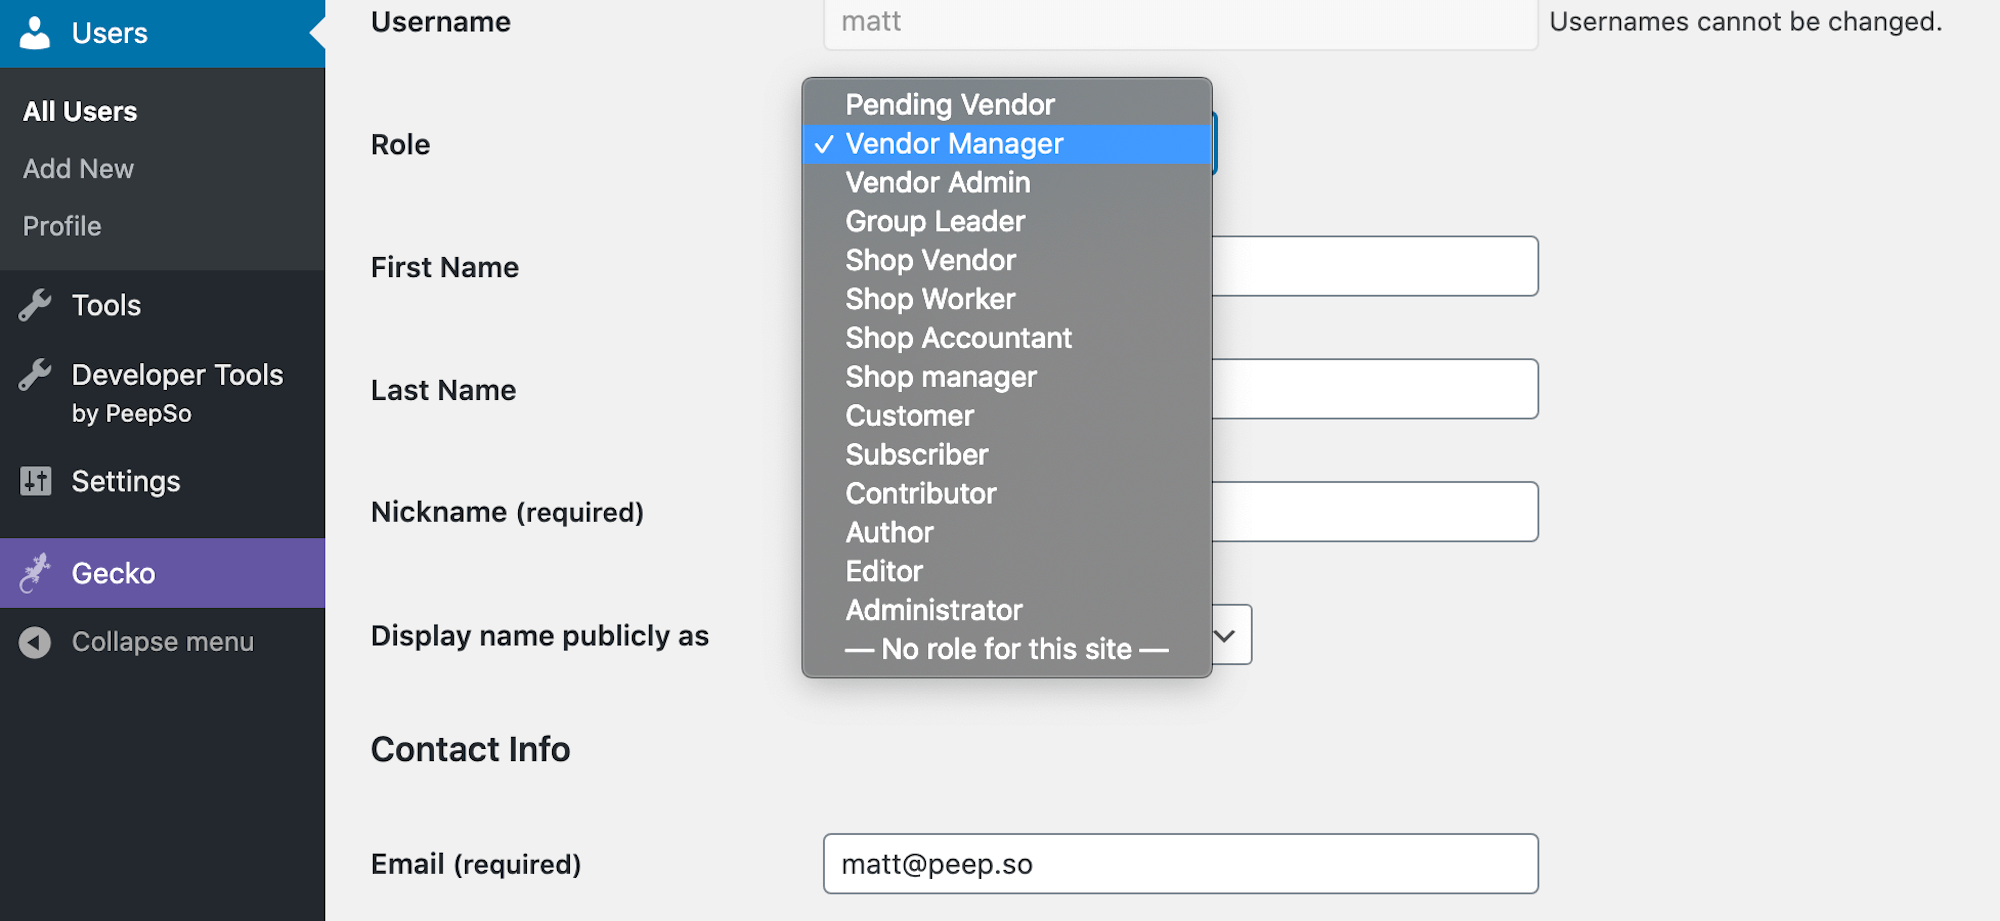
In this article we will only cover the easiest scenario – admin creating a Vendor manually. First, the User you want to make a Vendor needs a special role assigned. You can do that by finding the user in Admin > Users, and editing their profile. Later, you need to assign this User to a specific Vendor. Go to Admin > Products > Vendors to create a Vendor. In the Product Vendor edit screen, you can assign a Vendor Admin.
Here, I assign a regular user Matt a Vendor Manager role and designate him as Vendor Admin of a WooCommerce Vendor Matt’s Vinyls.

Admin: Configuring the PeepSo integration
All you have to do to enable the Product Vendors integration is head to Admin > PeepSo > Configuration > WooCommerce and make sure Product Vendors profile tab is enabled. Here you can also customize the label displayed in PeepSo Profiles of your Vendors – depending on your use case it might be Shop, Products, For Sale or something completely different.

Vendor: Adding products
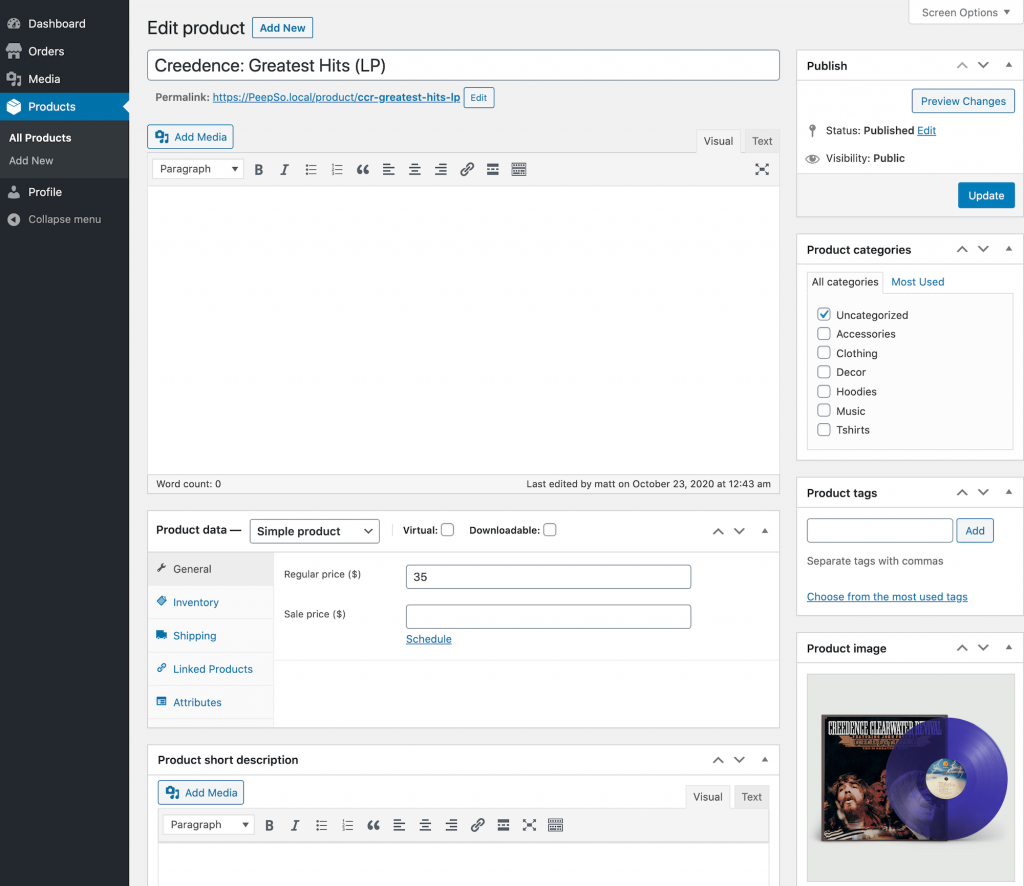
If your Vendor is properly configured, they should be able to create and manage products in Admin > Products.

PeepSo Profile – Vendor Tab
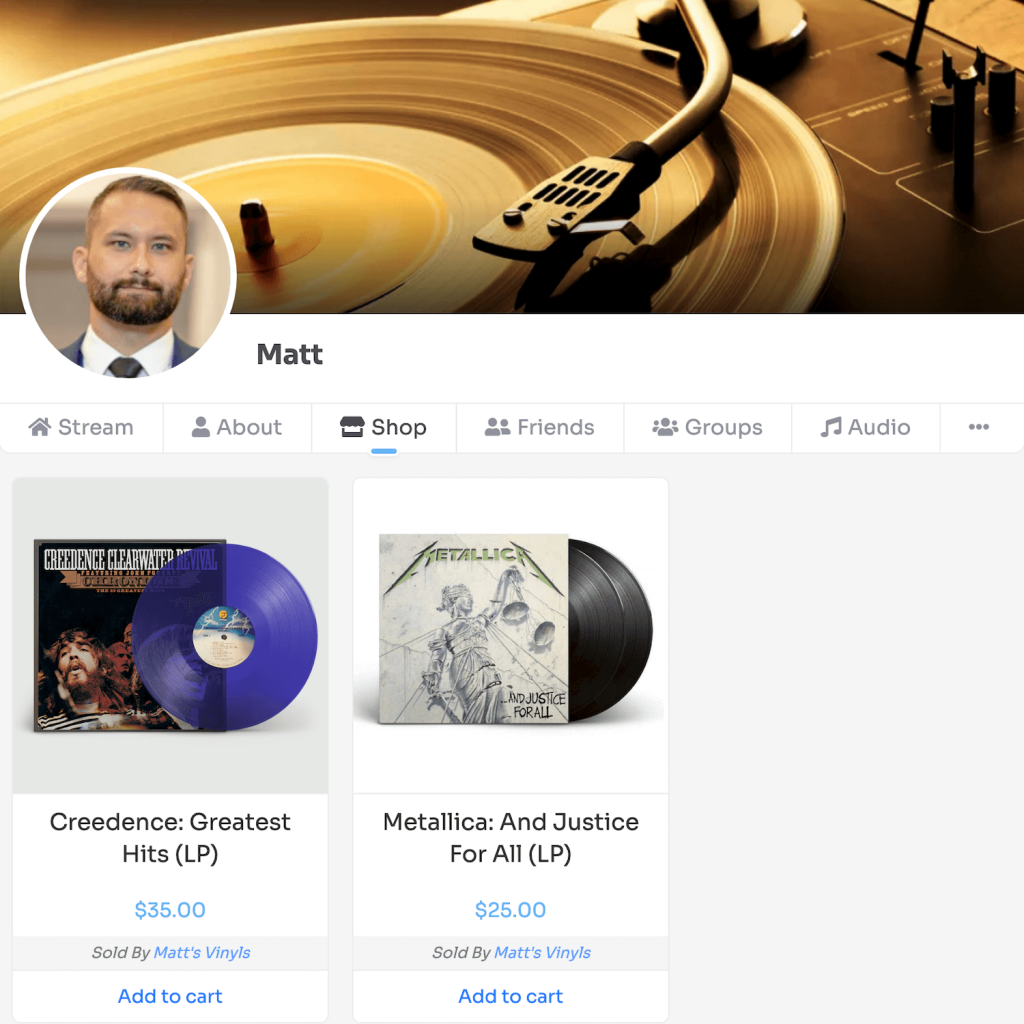
After all the steps above are done, products will show in the dedicated tab in your user profiles. We made sure the Vendor tab is prioritized, i.e. it will always display after the About tab.




Reactions & comments
Comments